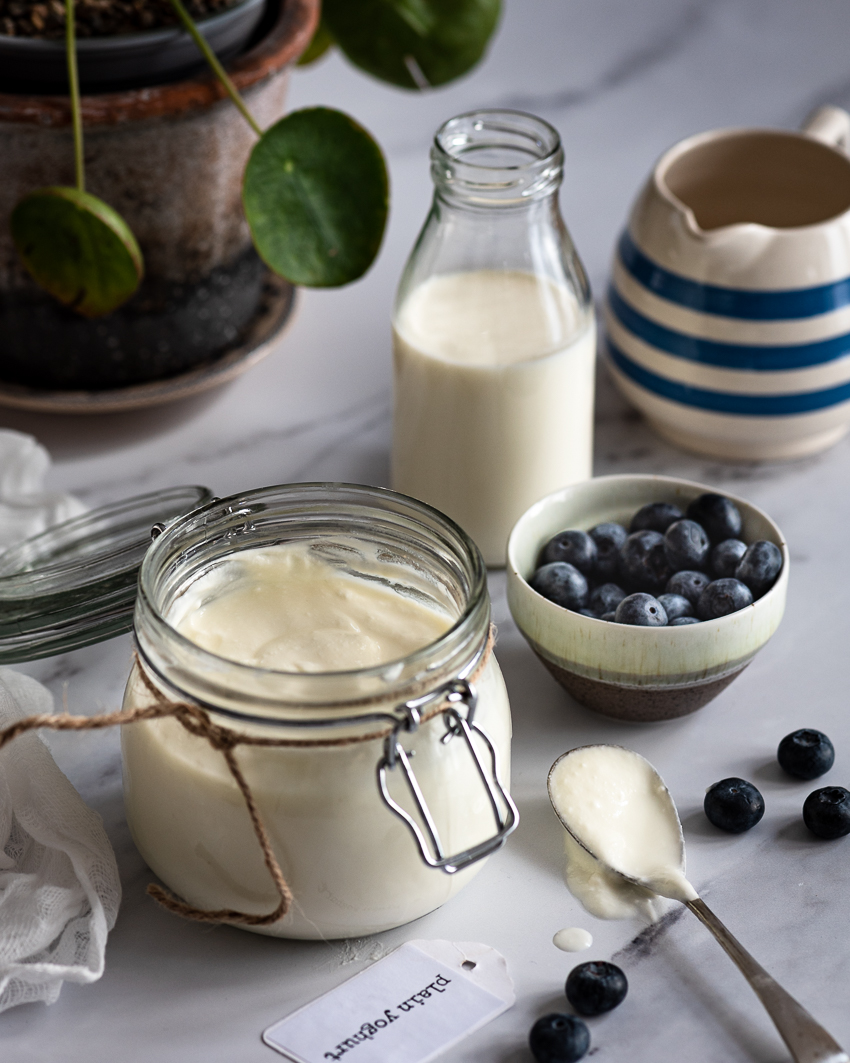
Homemade yoghurt
The history of yoghurt can be traced back thousands of years and probably has its origins in what is now Turkey.
Some historians believe it may have been invented by accident, when milk exposed to bacteria in warm temperatures turned sour. However it came about, people soon realised that not only did it taste delicious, but that the fermentation helped to preserve milk, since its natural acidity slowed the growth of harmful bacteria. And nowadays, it is probably our best known fermented food.
My first introduction to yoghurt was as a child in the sixties, when little pots of yoghurt under the trade name Ski started to appear in the shops. Their USP was that it contained REAL fruit (a rarity at the time) and despite having a lot of added sugar was marketed with the jingle "Ski, the full of fitness food"
Mum, always something of a trailblazer when it came to eating healthily, eschewed Ski and much preferred Longley farm yoghurt which she bought from the health food shop, since it contained live cultures and very little sugar. Sometimes it was so 'live' that it would bubble over the top of the pot in the fridge!
Now, with our understanding of the crucial role gut health plays in our well being, fermented foods are rightly being heralded as a very important part of our diet.
- Use any dairy milk of choice. I used full fat. You could substitute some of the milk for single cream to make extra creamy yoghurt or use semi skimmed milk for a lower fat version. As far as I am aware, this process will not work with plant based milks.
- Make sure to use only live, plain yoghurt (with no added ingredients such as thickeners or sweetners) as a starter i.e. the yoghurt contains live cultures. This should be stated on the packaging as Lactobacillus Bulgaricus and Streptococcus Thermophilus.
- Cover the milk as it cools with a crumpled piece of wet baking parchment. Make sure the paper is in contact with the surface of the milk to prevent a skin from forming.
- Put the 1 tablespoon of yoghurt starter into a small bowl and add 2-3 tablespoons of the cooled milk, stir well then add to the remaining milk and give another good stir.
- Scald the thermos flask with boiling water before adding the milk mixture. This not only sterilises the flask but ensures it is warm so that the milk mixture does not cool too much when poured into the flask. Likewise, make sure the flask is more or less full, since empty space at the top may also cool the milk.
- Leave the flask and its contents undisturbed for at least 10 hours or longer. If left longer the set is firmer and the flavour more pronounced so experiment to see what you prefer.
- When the fermentation time is up, I tip the yoghurt into a sterilised Kilner jar for ease of storage.
- Chill the yoghurt in the fridge for several hours before eating. This improves the flavour ...I personally don't like warm yoghurt and thickens it further.
- If the yoghurt is slightly lumpy give it a whisk. The yoghurt can also be strained to make a Greek style yoghurt. In which case, pour the yoghurt into a sieve lined with cheesecloth and place over a bowl. Leave in the fridge overnight. The liquid that collects in the bowl is whey and can be used in recipes instead of buttermilk, although I have not tried this.


Comments
Post a Comment